Installation Guide
|
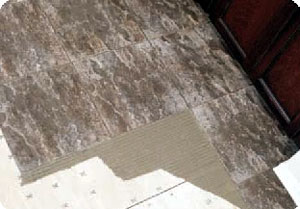
Installation - Ceramic Tile
SETTING THE FIRST PANEL
- Choose a corner along a straight
long line and begin to install and fasten one panel at a time.
- Install all panels with the grain set at right angles to the floor
joists.
- Offset panel edge from the subfloor edges by a minimum of 12” – all
panels.
- Leave a 1/8" wide space between panels and 1/4" wide space between
panels and any restraining surface which they abut, such as columns or
perimeter walls, to allow for expansion.
- Note
-
Tile must not be installed on Multiply® underlayment with epoxy or modified epoxy emulsion mortar unless it is
installed with 1/4" gaps between panels
- Start from a panel corner and fasten row by row to the opposite side. Do
NOT four-corner fasten first.
- Use full body weight over the area being fastened to assure firm contact
with the subfloor.
- Fasten panels every 2” along the edges and 4” across the field, on every
X.
- Position fasteners 3/8” to 1/2” in from panel edges.
 |